How to Book Ola Cab on Desktop using Website
Ola cab booking service is not only restricted to it's mobile application. Instead, they offer the service of cabs through various other modes as well. One such mode of booking is through the Ola website. Using the Ola website, a user can book Ola cab on the desktop. Any user can avail this service provided they have an existing Ola account. Therefore, this article explains the steps to book an Ola cab on desktop using website.
How to book OLA Cabs from your PC
Steps to book Ola cab on desktop using Website
1. Search for Ola Cab website: The first step to book an Ola cab on desktop using the website is to open the website. In order to do this, you have to launch the browser in your PC and search for Ola Cab. As a result of this, you will get a list of results. From the result, Tap on the first link and open it. Alternatively, you can visit https://www.olacabs.com/ 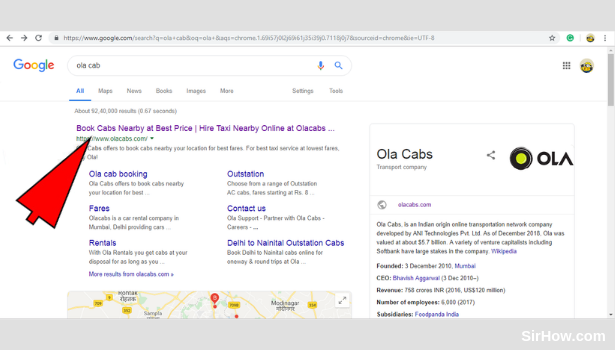
2. Enter your Pick Up location: The Ola cabs website will open as shown in the picture below. The first thing you have to do when the Ola website opens is to enter the Pickup location. The pickup location represents the location where you want to be picked up. Click on the space provided to enter the pickup location and type put the address. 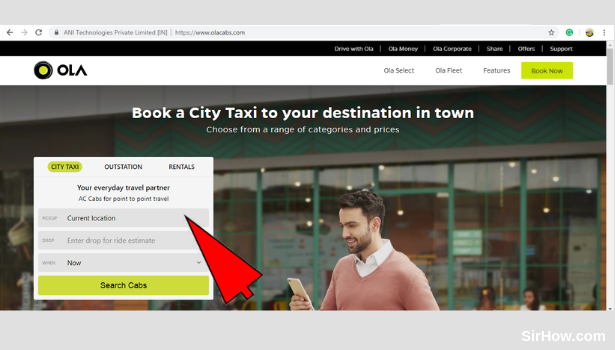
3. Set the Destination: After you have entered the Pickup location, you can then set your destination. The destination represents the place where you want to be dropped off. To set your destination, tap on the space provided as shown in the picture below and type out the address. 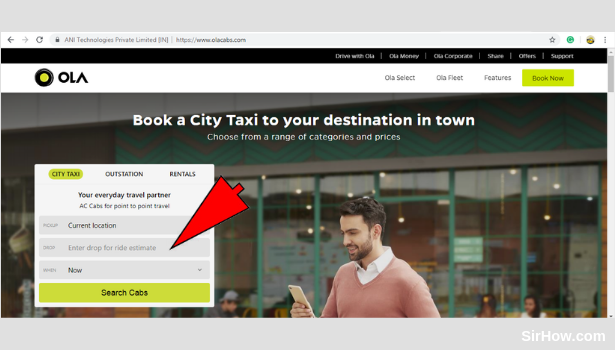
4. Click the "Search cabs" option: After you have set both the pickup and destination, you can search for cabs. Ensure that the third criteria of "When" is selected as Now. Tap on the yellow color rectangle as shown in the picture below to search for Cabs. 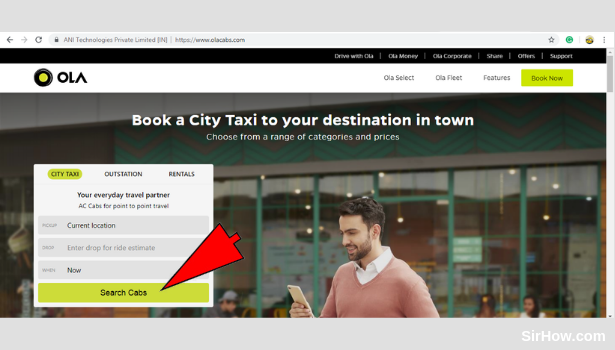
5. Allow Location access: As a result of clicking on the search cab option, the following screen will appear along with a small pop up. This pop up is a confirmation pop up asking you whether you want to give permission to the website to use your current location. Tap on the allow option because the app uses the location for different aspects. 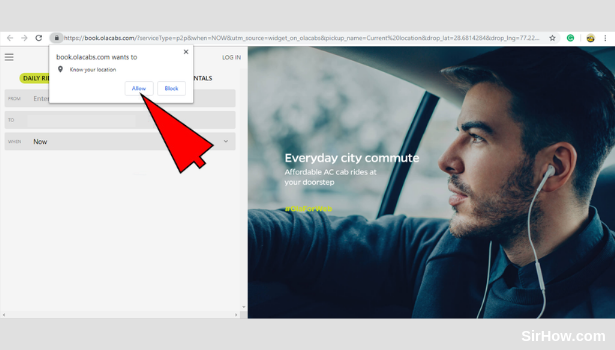
6. Select the type of Ola cab you want: As a result of giving permission for notifications, you will get the results of the search as follows. The list of results that are shown below represent the different Ola cabs available to you. Tap on the desired Ola cab as indicated below. 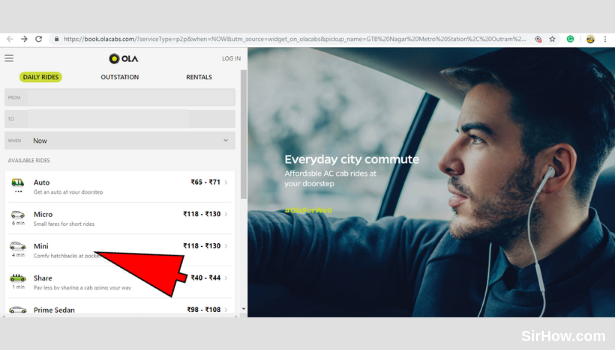
7. Click the "Continue" option": As a result of selecting your type of cab, you will get the following screen. This screen will show you an overview of your pick up point and the live location of the available cabs you have selected. If there are cabs available, a continue option will appear at the bottom of the window. Click the continue option as shown below to go ahead with the booking. 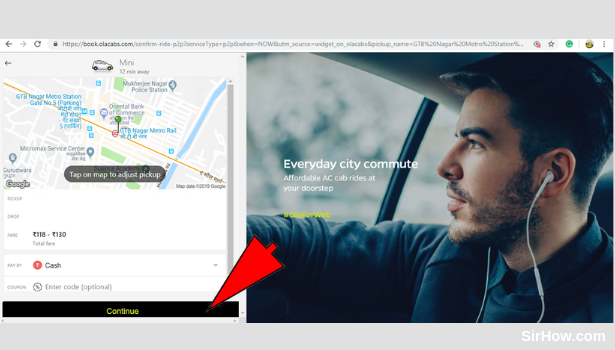
8. Provide your mobile number: After you click on the continue option, you will get the screen as shown in the picture below. You will be asked for your mobile number for OTP verification and thus, you have to provide a number that you are using. To enter the phone number, click the space indicated by the arrow and type in the number. 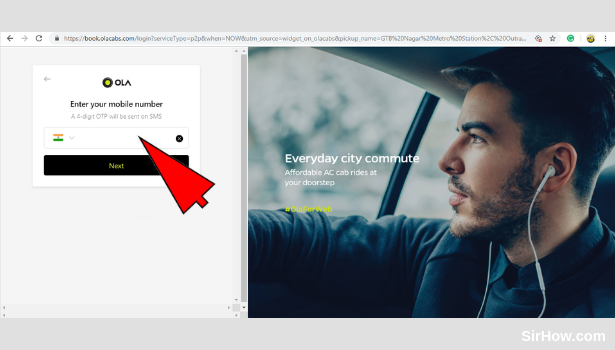
9. Click on Next: Once you finish entering your mobile number, you can continue with the booking procedure. To do this, you have to go next by clicking the next option as shown in the picture. 
10. Enter the OTP: As a result of clicking the next option, you will get the following screen which will ask you to log into your Ola account using OTP. Tap on the space indicated by the arrow mark and type in the code that is sent to you mobile phone. 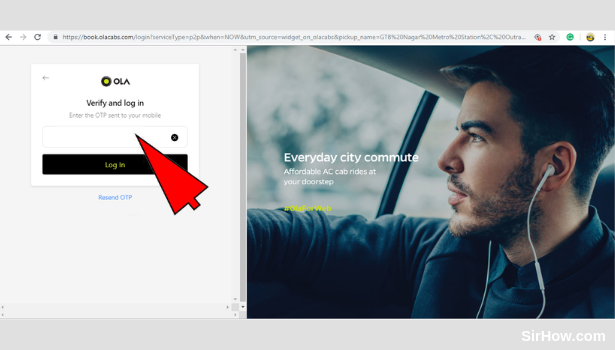
11. Click on the "Log In" option: Once you enter the OTP you received correctly, you can then log into Ola. To log into your Ola account, simply click on the login option as shown in the picture below. 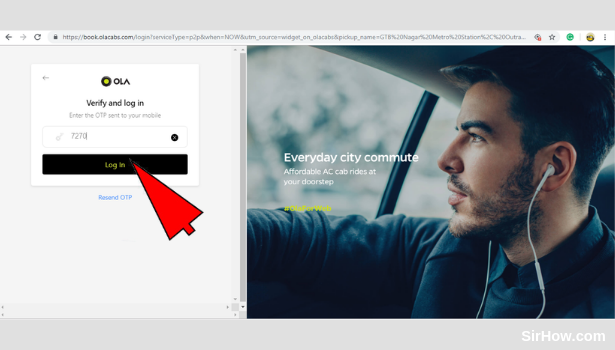
12. Select "Confirm and Book": As a result of logging in to your Ola account, you will be redirected to the following screen as shown in the picture below. In this screen, you will find an option of "Confirm and Book". This option is the last step to be followed in order to book Ola cab on desktop from website. Therefore, just click the option indicated by the arrow mark. 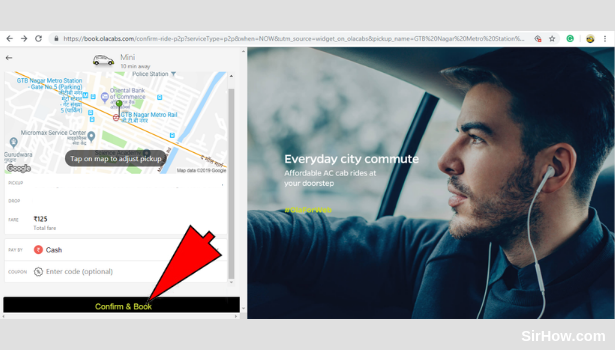
Thus, by following the steps explained above, an individual can book Ola cab on desktop from the website. There is no need to install the application if one follows these steps. Once you follow the last step, you have to just set up payment mode and your ride will be booked.